前言
可道云是一个国产的云盘产品,用起来还蛮稳定的,还支持对象存储、WebDev挂载等等,在此推荐一波(可道云记得打钱)。官网:kodcloud.com
环境
主机:阿里云ecs学生机Ubuntu18.04
依赖包:nginx 1.14\php\mariadb\redis
可道云:v1.14
1.依赖环境安装
1.1 Nginx
安装Nginx,命令:
sudo apt-get install nginx验证安装:
nginx -v成功安装后会显示版本号。
1.2 MariaDB
安装MariaDB-server,命令:
sudo apt install mariadb-server安全方式安装,命令:
sudo mysql_secure_installation随后按照mariadb的提示进行配置就可以了。
1.3 Redis
不想使用Redis做缓存的同学可以跳过这一步,不过还是建议使用Redis来做缓存,更安全高效。
安装Redis,命令:
sudo apt-get install redis-server验证安装:
ps -aux|grep redis应该会看到类似如下信息:
redis 5699 0.1 0.1 51452 3728 ? Ssl 12:05 0:00 /usr/bin/redis-server 127.0.0.1:63791.4 PHP
建议将php放在最后进行安装,防止依赖出问题。
安装php及各种插件,命令:
sudo apt-get install php7.2-fpm php7.2-mysql php7.2-curl php7.2-json php7.2-mbstring php7.2-xml php7.2-intl php7.2-gd php7.2-redis验证安装:
php -v
sudo service php7.2-fpm status
第一条命令应该会正确显示出php版本7.2,第二条命令应该会显示php7.2-fpm服务处于active状态。
2.环境配置
2.1 Nginx配置
将/etc/nginx/nginx.conf修改为如下配置:
#user  nobody;
worker_processes auto;

#error_log  logs/error.log;
#error_log  logs/error.log  notice;
#error_log  logs/error.log  info;

#pid        run/nginx.pid;


events {
    use epoll;
    worker_connections 51200;
    multi_accept on;
}


http {
    include       mime.types;
    default_type  application/octet-stream;

    #log_format  main  '$remote_addr - $remote_user [$time_local] "$request" '
    #                  '$status $body_bytes_sent "$http_referer" '
    #                  '"$http_user_agent" "$http_x_forwarded_for"';
	access_log /var/log/nginx/access.log;
    error_log /var/log/nginx/error.log;

	server_names_hash_bucket_size 512;
	client_header_buffer_size 32k;
	large_client_header_buffers 4 32k;
	client_max_body_size 10G;

	sendfile        on;
	tcp_nopush     on;
	tcp_nodelay on;
	keepalive_timeout 720;

	fastcgi_connect_timeout 3600;
	fastcgi_send_timeout 3600;
	fastcgi_read_timeout 3600;
	fastcgi_buffer_size 64k;
	fastcgi_buffers 4 64k;
	fastcgi_busy_buffers_size 128k;
	fastcgi_temp_file_write_size 256k;
	fastcgi_intercept_errors on;

	gzip on;
    gzip_min_length  1k;
    gzip_buffers     4 16k;
    gzip_http_version 1.1;
    gzip_comp_level 2;
    gzip_types     text/plain application/javascript application/x-javascript text/javascript text/css application/xml;
    gzip_vary on;
    gzip_proxied   expired no-cache no-store private auth;
    gzip_disable   "MSIE [1-6]\.";
	server_tokens off;

    include /etc/nginx/sites-enabled/*;
    include /etc/nginx/conf.d/*;
}
#daemon off;
在配置kodbox对应的conf文件之前,首先要修改一下php-fpm配置文件/etc/php/7.2/fpm/pool.d/www.conf:
sudo vim /etc/php/7.2/fpm/pool.d/www.conf将其中的:
listen = /run/php/php7.2-fpm.sock
修改为
listen = 127.0.0.1:9000
随后在/etc/nginx/sites-enabled下,删除原有的default文件,新建文件kodbox.conf,并编辑为以下内容,记得注意fastcgi_pass:
server {
	listen   80; ## listen for ipv4; this line is default and implied
	listen   [::]:80 default ipv6only=on; ## listen for ipv6

	root /var/www/html;
	index index.php index.html index.htm;
        #return 301 https://$host$request_uri;
	# Make site accessible from http://localhost/
	server_name _;

	# Disable sendfile as per https://docs.vagrantup.com/v2/synced-folders/virtualbox.html
	sendfile on;

	# Add stdout logging
	# error_log /dev/stdout info;
	# access_log /dev/stdout;

        # Add option for x-forward-for (real ip when behind elb)
        #real_ip_header X-Forwarded-For;
        #set_real_ip_from 172.16.0.0/12;

	# block access to sensitive information about git
	location /.git {
           deny all;
           return 403;
        }

	# pass the PHP scripts to FastCGI server listening on socket
	#
	# enable pathinfo
	location ~ [^/]\.php(/|$) {
                try_files $uri =404;
		fastcgi_pass 127.0.0.1:9000; #这里注意,填写与php-fpm的listen相对应的端口
		fastcgi_index index.php;
		set $path_info $fastcgi_path_info;
        	set $real_script_name $fastcgi_script_name;
        	if ($fastcgi_script_name ~ "^(.+?\.php)(/.+)$") {
		    set $real_script_name $1;
		    set $path_info $2;
        	}
		fastcgi_param SCRIPT_FILENAME $document_root$real_script_name;
       		fastcgi_param SCRIPT_NAME $real_script_name;
		fastcgi_param PATH_INFO $path_info;
		include fastcgi_params;
	}

        location ~* \.(jpg|jpeg|gif|png|css|js|ico|webp|tiff|ttf|svg)$ {
                expires           30d;
        }

	location ~ .*\.(js|css)?$
	{
		expires      12h;
	}
	# deny access to . files, for security
	#
	location ~ /\. {
    		log_not_found off;
    		deny all;
	}

	location ^~ /.well-known {
                allow all;
                auth_basic off;
        }

	location = /favicon.ico {
		log_not_found off;
	}
}
重启nginx和php-fpm:
sudo service php7.2-fpm restart
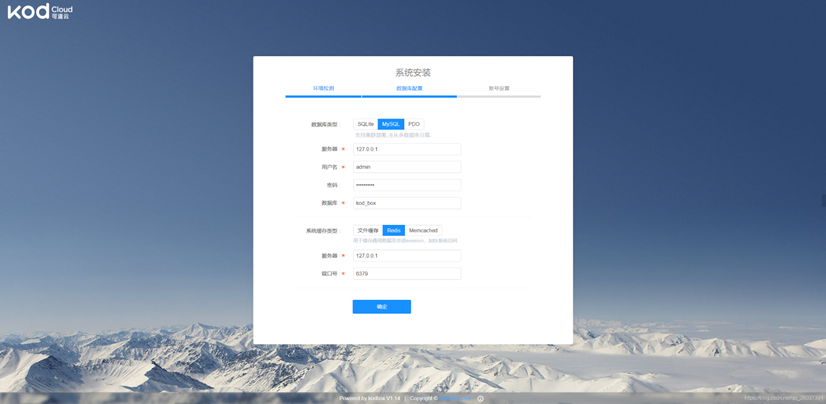
sudo service nginx restart2.2 数据库配置
使用如下命令进入mariadb交互界面:
sudo mysql创建一个新用户admin备用:
GRANT ALL PRIVILEGES ON *.* TO 'admin'@'localhost' IDENTIFIED BY '填密码';
FLUSH PRIVILEGES;
随后退出数据库,使用刚刚创建的用户来登录数据库:
mysql -uadmin -p创建一个新数据库用于存放云盘数据:
create database kod_box default character set utf8;
2.3 kodbox
今天的主角Kodbox,首先把它的最新版本压缩包下载下来:
wget http://static.kodcloud.com/update/download/kodbox.1.14.zip将它解压到/var/www/html目录下,或者在该目录下创建一个文件夹kodbox,将它解压到该文件夹下,那么将来就可以通过http://域名或IP/kodbox来访问了。
sudo cp kodbox.1.14.zip /var/www/html/
cd /var/www/html
unzip kodbox.1.14.zip
将/var/www/html整个目录的权限设置为777
cd /var/www
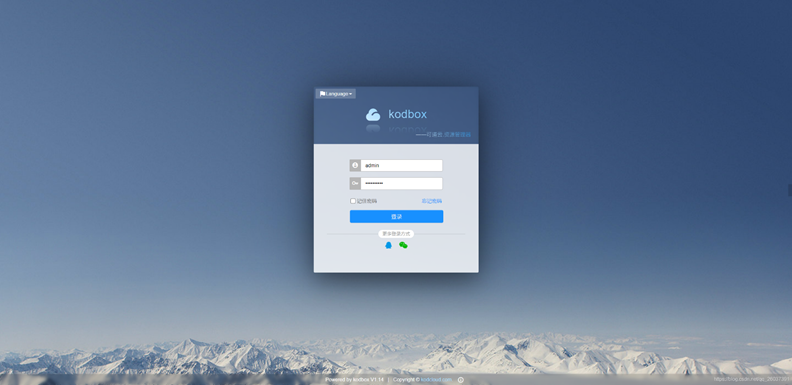
sudo chmod -R 777 html/访问http://你的域名或IP,开始配置:
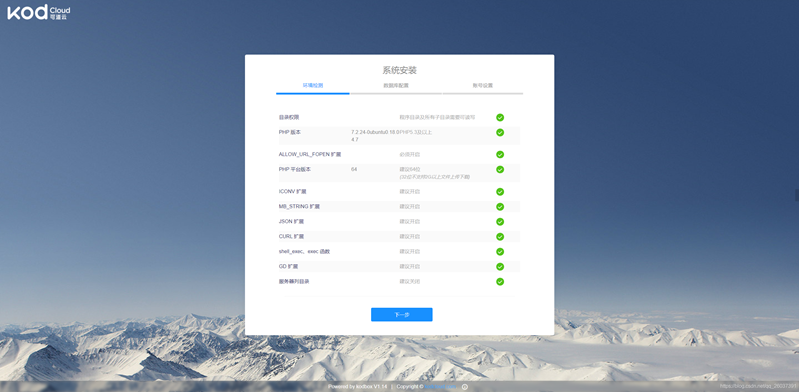
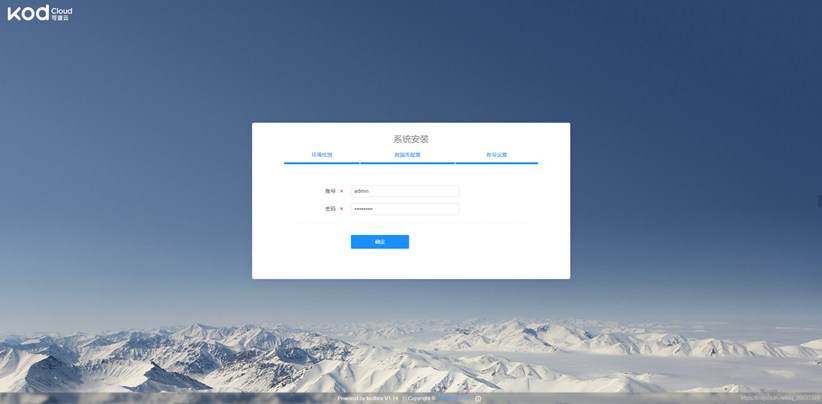
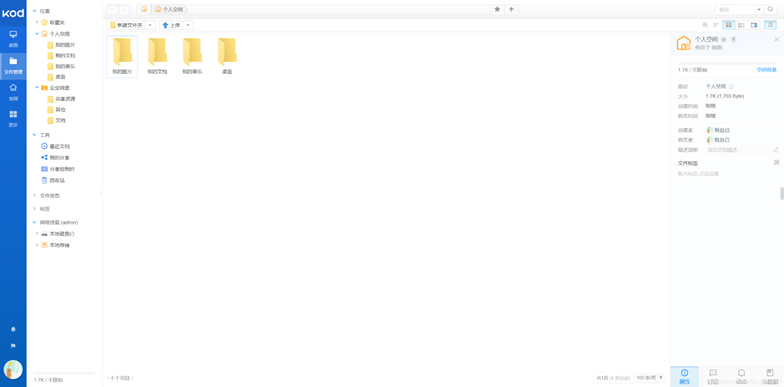
配置完成,开始愉快地使用: